


Photoelectrochemical H-Cell Setup
Captions
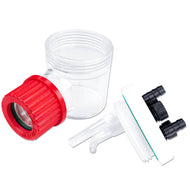
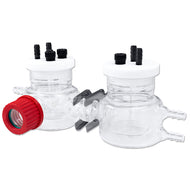
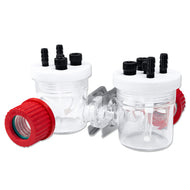
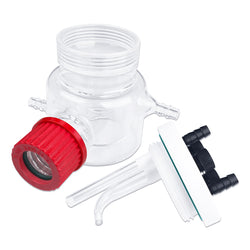
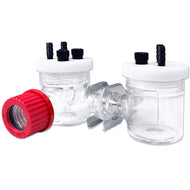
- H-type Photoelectrochemical Cells: A few variants available including water jackets and dual optical windows
- All cells included with Quartz Optical window, sampling window, lugging capillary, and a gas bubbler attached to Working Electrode compartment, addition to standard parts
- Use membrane sealer to fix your membrane in between the compartments
- Use a membrane separator suitable for the electrolyte
- Tighten the junction against leak using the provided clamp
- JS2 Quartz optical windows included in the package
- Place it inside the Lid with the O-ring, and then attach to cell body
- Once membrane junction and Window is assembled, you can fill up the cell with electrolyte
- Working Electrode: L-shaped ones can direct towards the illumination (not included)
- Working Electrode: You can use Electrode Holders to place bespoke electrodes in the cell (Electrodes are not included in the package)
- When you fix your bespoke electrodes, make sure to place the photo active material coated side towards the capillary
- Tighten till the Working Electrode aligns with the Optical Window
- Light will transport through Quartz, Electrolyte, and then trough the transparent glass to the photoactive material
- Assemble the counter compartment with a selected Counter/ Auxiliary Electrode
- As in standard H-cells, try to keep counter electrode closer to the junction
- Your cell is now ready for use, a range of spare parts is also included to support your research
Photoelectrochemical Cells
Related Products
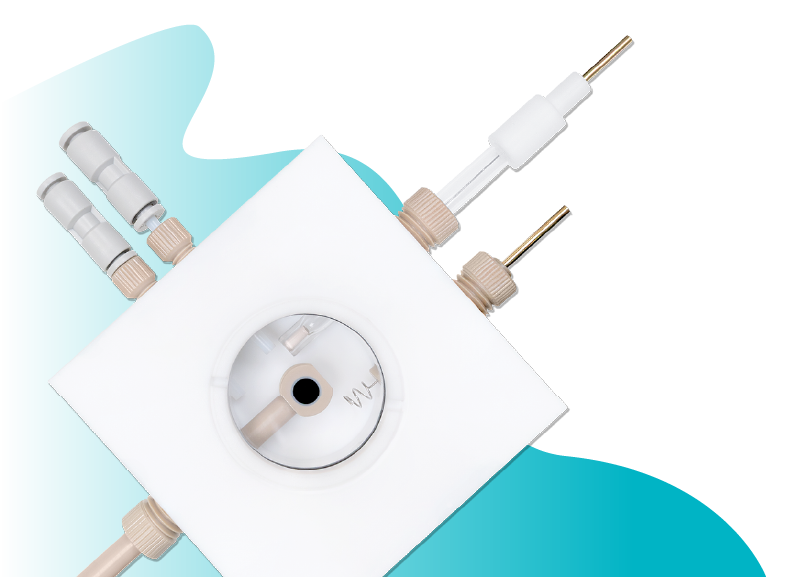
Spectro-electrochemical Cells
Explore our Spectroelectrochemical range, including in-situ Raman Cells.
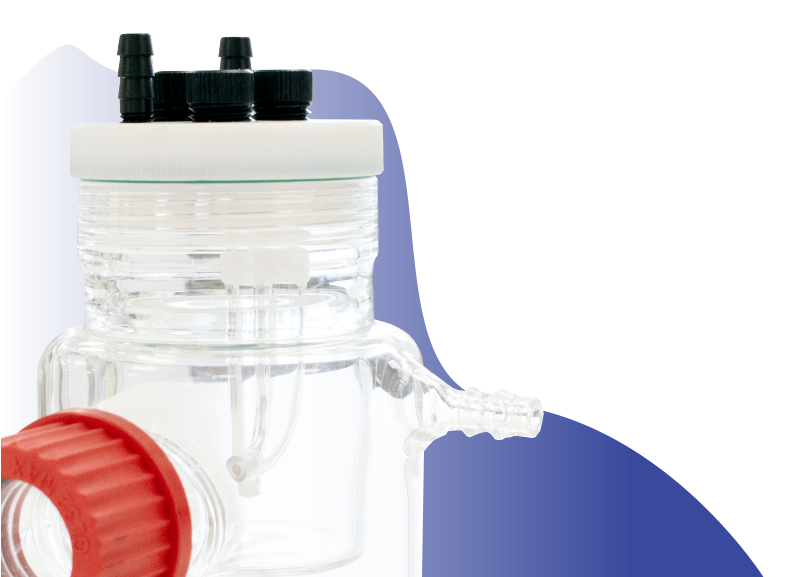
Photoelectrochemical Cells
Explore our range in photoelectrochemical cells.
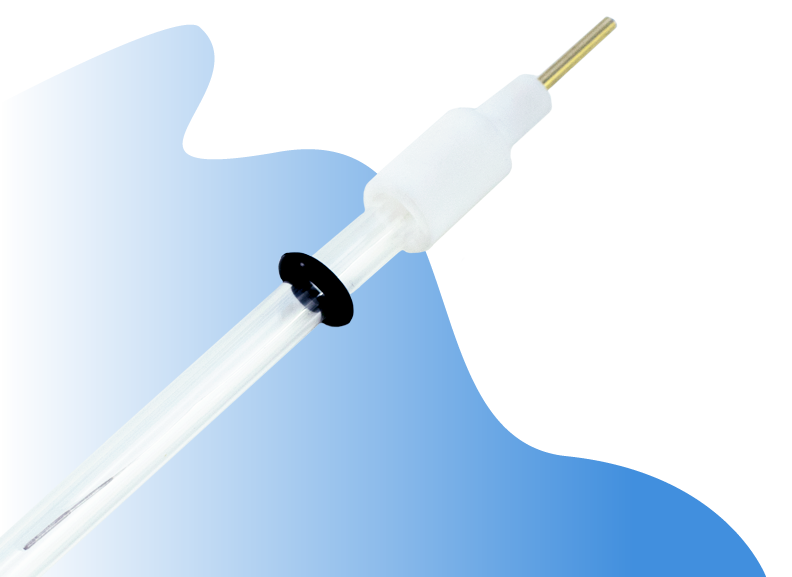
Electrodes
Explore our range of electrodes, including the glassy carbon working electrode.
Contributing Authors
Written by
Product Development Electrochemist
Videography by
Graphic Designer