


Photoelectrochemical Cell (PEC) Setup
Captions
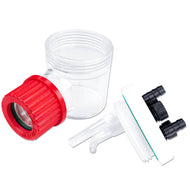
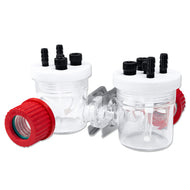
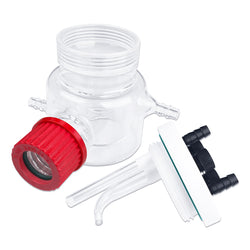
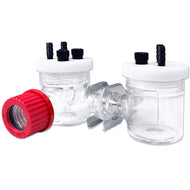
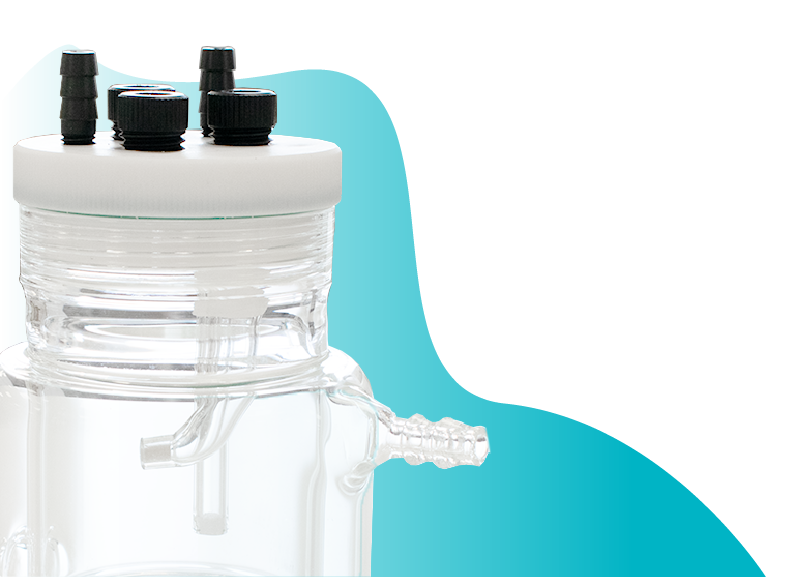
- Glass Photoelectrochemical Cells: with or without a water jacket
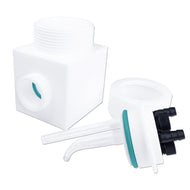
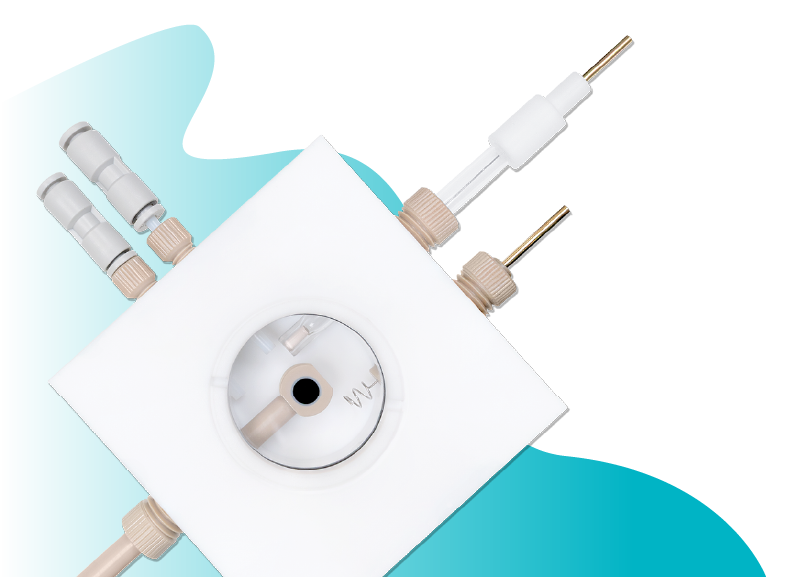
- One with PTFE body also available
- JS2 Quartz optical windows included in the package
- Place it inside the Lid with the O-ring, and then attach to cell body
- Working Electrode: L-shaped ones can direct towards the illumination (not included)
- Working Electrode: Can you Electrode Holders to place bespoke electrodes in the cell
- Coated on transparent conductive substrates (ex. ITO/ FTO)
- Electrodes are not included in the package are using for demonstration purpose only and alternative electrodes can also be used
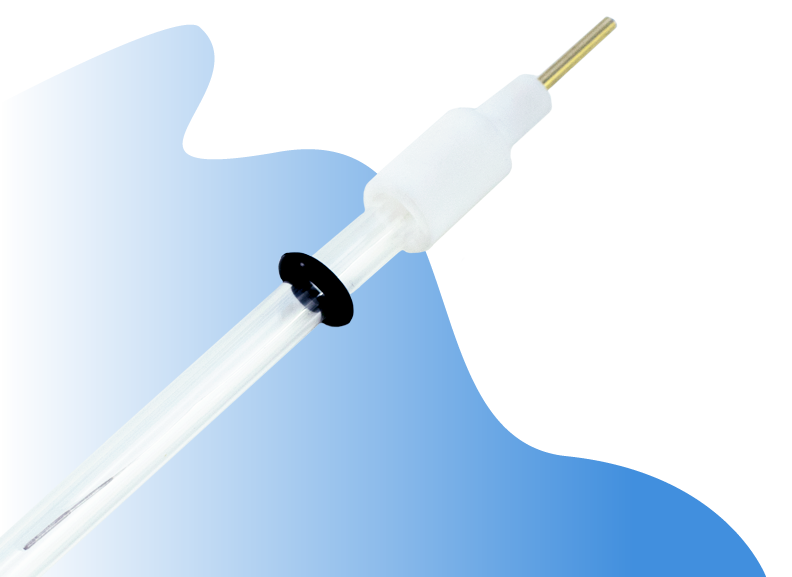
- Reference Electrode with Lugging Capillary (provided) Fixing
- Note: Fill the salt bridge and allow equilibrium to establish before assembling the Reference Electrode
- The Luggin capillary allows placement of the reference electrode closer to the working electrode
- When you fix your bespoke electrodes, make sure to place the photo active material coated side towards the capillary
- Fix the gas bubbler if needed (provided)
- Align the Working Electrode to the Optical Window
- Light will transport through Quartz, Electrolyte, and then trough the transparent glass to the photoactive material
- PEC with PTFE body also available
- A range of spare parts is included to support your research. Please refer to the manual for included accessories
- For further assistance, contact us via the product page or at support@ossila.com
Photoelectrochemical Cells
Related Products
Spectro-electrochemical Cells
Explore our Spectroelectrochemical range, including in-situ Raman Cells.
Electrodes
Explore our range of electrodes, including the glassy carbon working electrode.
Contributing Authors
Written by
Product Development Electrochemist
Videography by
Graphic Designer