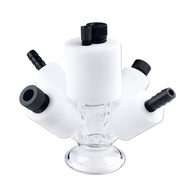
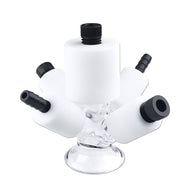
Sealed Micro-Electrochemical Cell Setup
Captions
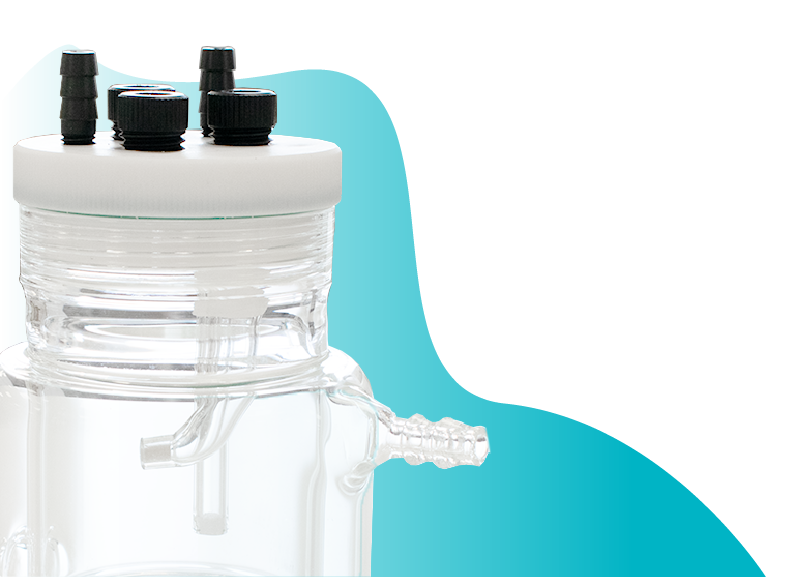
- 10 ml cells with Three Electrode Ports and Two Gas Inlet/Outlets
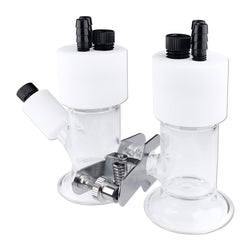
- C2031W1 has an additional Sampling Window
- Let’s quickly see how to assemble (Electrodes need to be purchased separately)
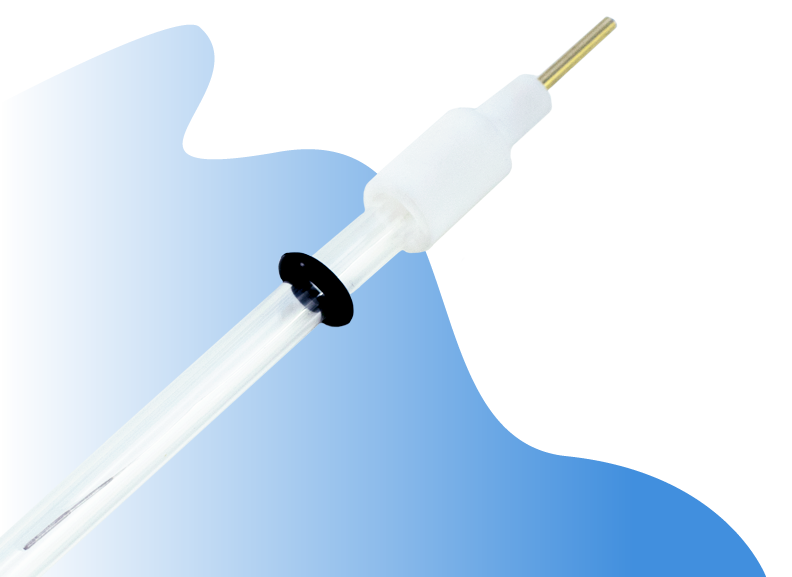
- Working Electrode: You can use an Electrode Holders or a Disk Electrode with the Cell
- Disk Working Electrode fixing
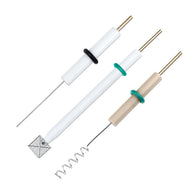
- Platinum and Glassy Carbon Normal and Removable Disk WE are available to purchase
- Platinum and Glassy Carbon Electrode Holders are available to purchase
- Reference Electrode fixing
- Ag/AgCl for Aqueous and Ag/Ag+ for non-aqueous
- Allow the Reference Electrode the reach the equilibrium once fills with the solution before use
- Always makes sure to use the provided O-rings to achieve adequate sealing
- Counter Electrode fixing
- Wire and Coil Counter/ Auxiliary Electrodes fits well with the cell
- Can fix the Gas Inlet/Outlets or close the ports with Stoppers (provided) as required
- Follow the steps to obtain good sealing
- Let’s set up the Sampling Window
- Place the Silicone Disk Seal
- Tighten the sampling window screw
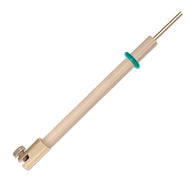
- Syringe Tip is provided to collect Gas or Liquid samples within the Cell
- Now your cell is ready
- Around 3ml minimum Electrolyte is needed to immerse the Electrodes
- Electrodes are well immersed in the 5 ml Electrolyte
- The cell has maximum 10-12 ml capacity
- Spare parts and additional accessories include
-
- Sampling Window and O-rings
- Electrode Fixing Screws and O-rings
- O-rings for PTFE Lid
- Syringe Needle
- PTFE Tubing (1m)
- PTFE Sealing
- PTFE Rod Stoppers and Caps
For further assistance, contact us via the product page or at support@ossila.com
Related Products
Collections

Spectro-electrochemical Cells
Explore our Spectroelectrochemical range, including in-situ Raman Cells.
Electrodes
Explore our range of electrodes, including the glassy carbon working electrode.
Contributing Authors
Written by
Product Development Electrochemist
Videography by
Graphic Designer