Solar Cell Encapsulation in a Glove Box

When working with air sensitive compounds, it is important to protect your materials exposing them to ambient conditions. One way to do this is to encapsulate your device inside an inert environment, such as a glove box.
To encapsulate a thin film and or device, you should applying thin protective layers covering the vulnerable material. This layer will shield your material from moisture, oxygen, and other harmful elements that could potentially degrade their performance or make them completely non-functional.
Solar Cell Encapsulation Kit
To encapsulate your solar cells, you will need the following materials:


In addition to this, you will need a UV curing lamp or a UV light source, and a glove box or other inert environment. Glove boxes, which maintain a controlled atmosphere devoid of moisture, oxygen, and other impurities, create a pristine encapsulation environment. With these, it should be easy to create a strong barrier layer to protect your devices and films.
How to Encapsulate your Solar Cells: Step-by-Step

To ensure adequate encapsulation, you should encapsulate your solar cell in an inert environment like a glove box. If you encapsulate your solar cell in air, you are not only exposing your air-sensitive material to contaminants, but you will also be sealing them into the device. The following steps are all conducted within the Ossila Glove Box.
As you are creating your device, pattern each layer as per your device architecture. This will involve removing material at the edges of your film. The above diagram is an example of how to pattern your pre-patterned ITO glass substrate. You need to remove enough material from either side of the device so that the ITO fingers are exposed but the central ITO pad is not. You should also remove a thin strip of material from the other edges of the film, to ensure full edge encapsulation.
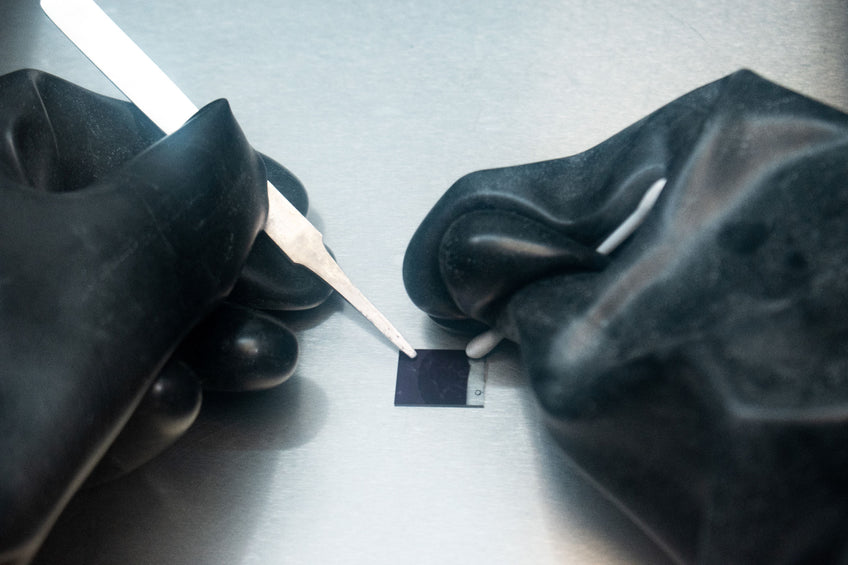
You can remove this material with a cleanroom swab soaked in an appropriate solvent or using a razor (or both). Take extreme caution if using razors in a glove box as these can easily cut the gloves, compromising the inert environment.


Here, we are using the Ossila Encapsulation Epoxy to seal these perovskite solar cell devices. You only need a very small amount of epoxy to encapsulate your device (depending on the size of your substrate). You can use a pipette tip to place a small drop of epoxy of your device, ensuring you do not touch your device.

Also note, that for the perovskite solar cell used in this page, conductive silver paint has been used to ensure a strong connection with the ITO fingers, even once epoxy is added. If you are encapsulating device for aging experiments, you may wish to do this - as it will help your device last longer.


Once the epoxy is deposited, position the encapsulation coverslip over the device area. The best way to do this is to hold the substrate in a near-vertical position at the edge of the device area, and then drop it. You can then press down gently with a pair of tweezers to:
- Move the coverslip into the right position
- Evenly spread the epoxy to the edges of the device ensuring no air bubbles
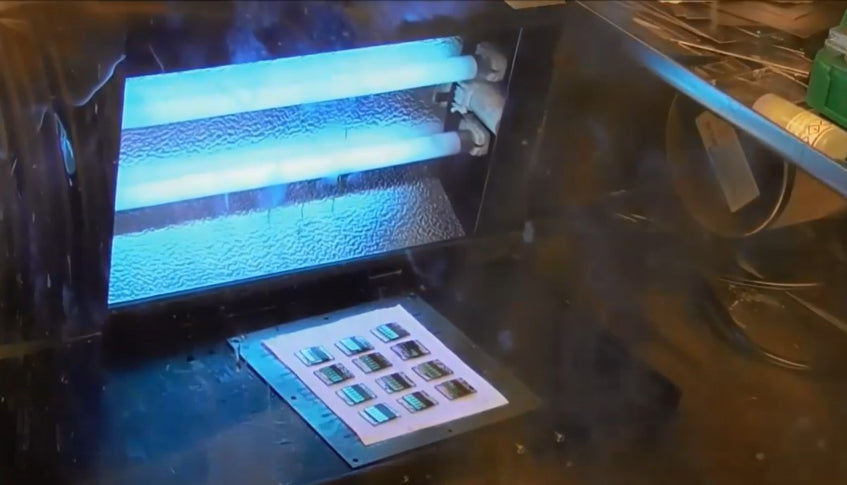
Once the glass slide is positioned over the device area, devices can be cured using UV light for between 15–60 minutes, depending on the intensity of UV light. This will create a strong barrier layer which should protect your devices from oxygen or moisture. These devices can now be taken out of the glove box.
Glove Box

Learn More
 Solar Cells: A Guide to Theory and Measurement
A solar cell is a device that converts light into electricity via the ‘photovoltaic effect’. They are also commonly called ‘photovoltaic cells’ after this phenomenon, and also to differentiate them from solar thermal devices. The photovoltaic effect is a process that occurs in some semiconducting materials, such as silicon.
Read more... Solar Cell Efficiency Formula
In order to ensure that different solar cells are compared consistently within the field of solar cell research, we use a standard formula for determining their efficiency. This standardized efficiency is known as the power conversion efficiency (PCE) and it is defined using the following equation:
Read more...