How to Use the Ossila Electrode Cleaning Polishing Kit
Apply a small amount of alumina polishing powder (∼ 0.5 g) onto the polishing cloth and then wet the powder with distilled water. Hold the electrode vertically and securely and run the electrode through the wet powdered cloth in the pattern of 8. Please do not use too much force since the electrode could break during this process. Do not mix different sized powder on the same cloth. When different cloths and different size of polish powder are involved, make sure to rinse the electrode thoroughly before switching to another cloth and powder.
For a deep cleansing of the electrode, it is recommended that you use sonication with the electrode in 2N HCl for 30 mins after the polishing process.
Captions
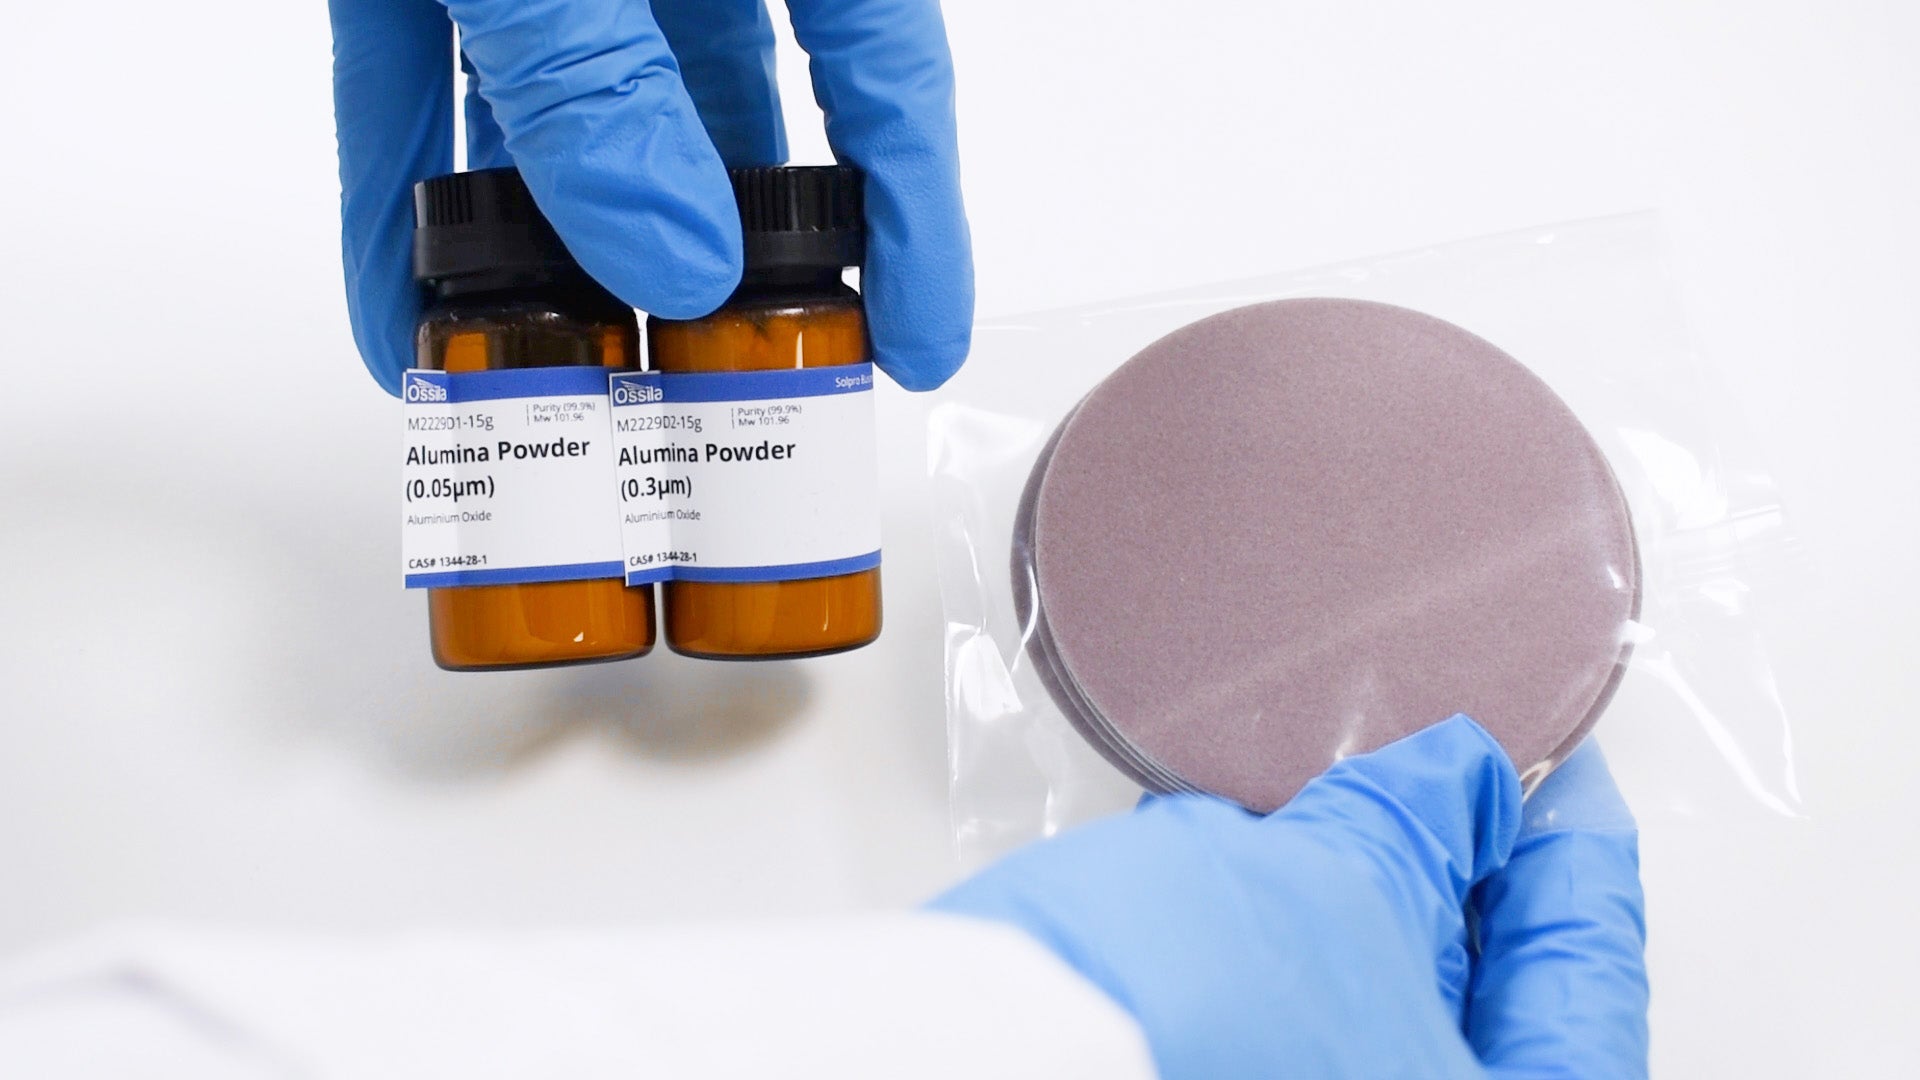
- This video will show you what you will find inside the electrode polishing kit and how to prepare the kit for cleaning an electrode.
- Three alumina polishing powders of different sizes.
- Sandpaper and 2 sets of polishing cloths: 5 × 1200 grit sandpaper (grey in color), Ø72 mm, 5 × nylon polishing cloth (black in color), Ø72 mm, 5 × micro-polishing cloth (coffee in color), Ø72 mm
- Two acrylic bases
- Three spoons
- The three sizes of alumina powder are:
- 0.05 µm – smallest size
- 0.3 µm – medium size
- 1 µm – largest size
- The 1 µm alumina powder should be used with a black nylon polishing cloth
- The 0.05 µm and 0.3 µm alumina powder should be used with a coffee colored micro-polishing cloth. DO NOT MIX DIFFFERENT SIZED POWDER ON THE SAME CLOTH.
- Peal of the cover of the adhesive back of the polishing cloth
- Stick the polishing cloth to the acrylic base. Pressing down securely. Please ensure you clean and dry the acrylic surface and remove the protective cover on the back side of the cloth before applying it to the acrylic surface.
- Apply a small amount of alumina polishing powder (∼ 0.5 g) onto the polishing cloth.
- Wet the powder with distilled water.
- Mix the powder and distilled water to make a paste.
- Your electrode can now be cleaned!
Electrode Polishing Kit

Learn More
 PEEK vs PTFE
The choice of whether to use PEEK (polyether ether ketone) or PTFE (polytetrafluoroethylene, Teflon) comes down to the conditions of your planned experiments. The key polymer properties to consider are:
Read more... Introduction to Bulk Electrolysis
Unlike many other electrochemical techniques, which are limited to the diffusion layer, bulk electrolysis (sometimes referred to just ‘electrolysis’) changes the composition of the bulk solution. Bulk electrolysis experiments aim to generate a quantitative conversion such that the amount of substrate consumed is directly proportional to the total consumed charge.
Read more...

