Balance Calibration: External and Internal Calibration

Calibrating of your microbalance or analytical balance is an important process. It helps to maintain the accuracy and reliability of measurements taken. Regularly checking and undergoing calibration ensures that your balance is outputting accurate and repeatable data. There are two common calibration methods for your laboratory balance: internal calibration with a sealed weight and external calibration with a certified weight.
Internal Calibration

Most laboratory balances have the option of using an internal calibration process. This method uses an internal weight that is automatically placed on the balance's weighing pan by a motor at predetermined intervals or when triggered by environmental changes. The balance compares the measured value of the internal weight to the actual weight. It then sets a correction factor, making the measured value equal to that stored in memory.
There are several advantages of using internal calibration:
- Convenience- The calibration process is completely automated, the process is repeatable, and consistent. You don’t have to worry about the user placing the weight in the correct spot, or if they have left the draft guard open.
- Automatic- This process can be triggered by the system powering up, if there is an increase in ambient temperature, the air pressure has changed, or any number of factors.
- Sealed- The entire calibration process is sealed away from users. This greatly reduces the risk of contamination and potential damage to the reference weight.
However, there are some disadvantages to this process. The calibration is done at a single point and not across the full range of the balance. It isn’t possible for a user to assess if there is any contamination from dust or particulates affecting it. The weight itself is normally not a certified weight. This may mean that internal calibration is not suitable for everyone.
External Calibration

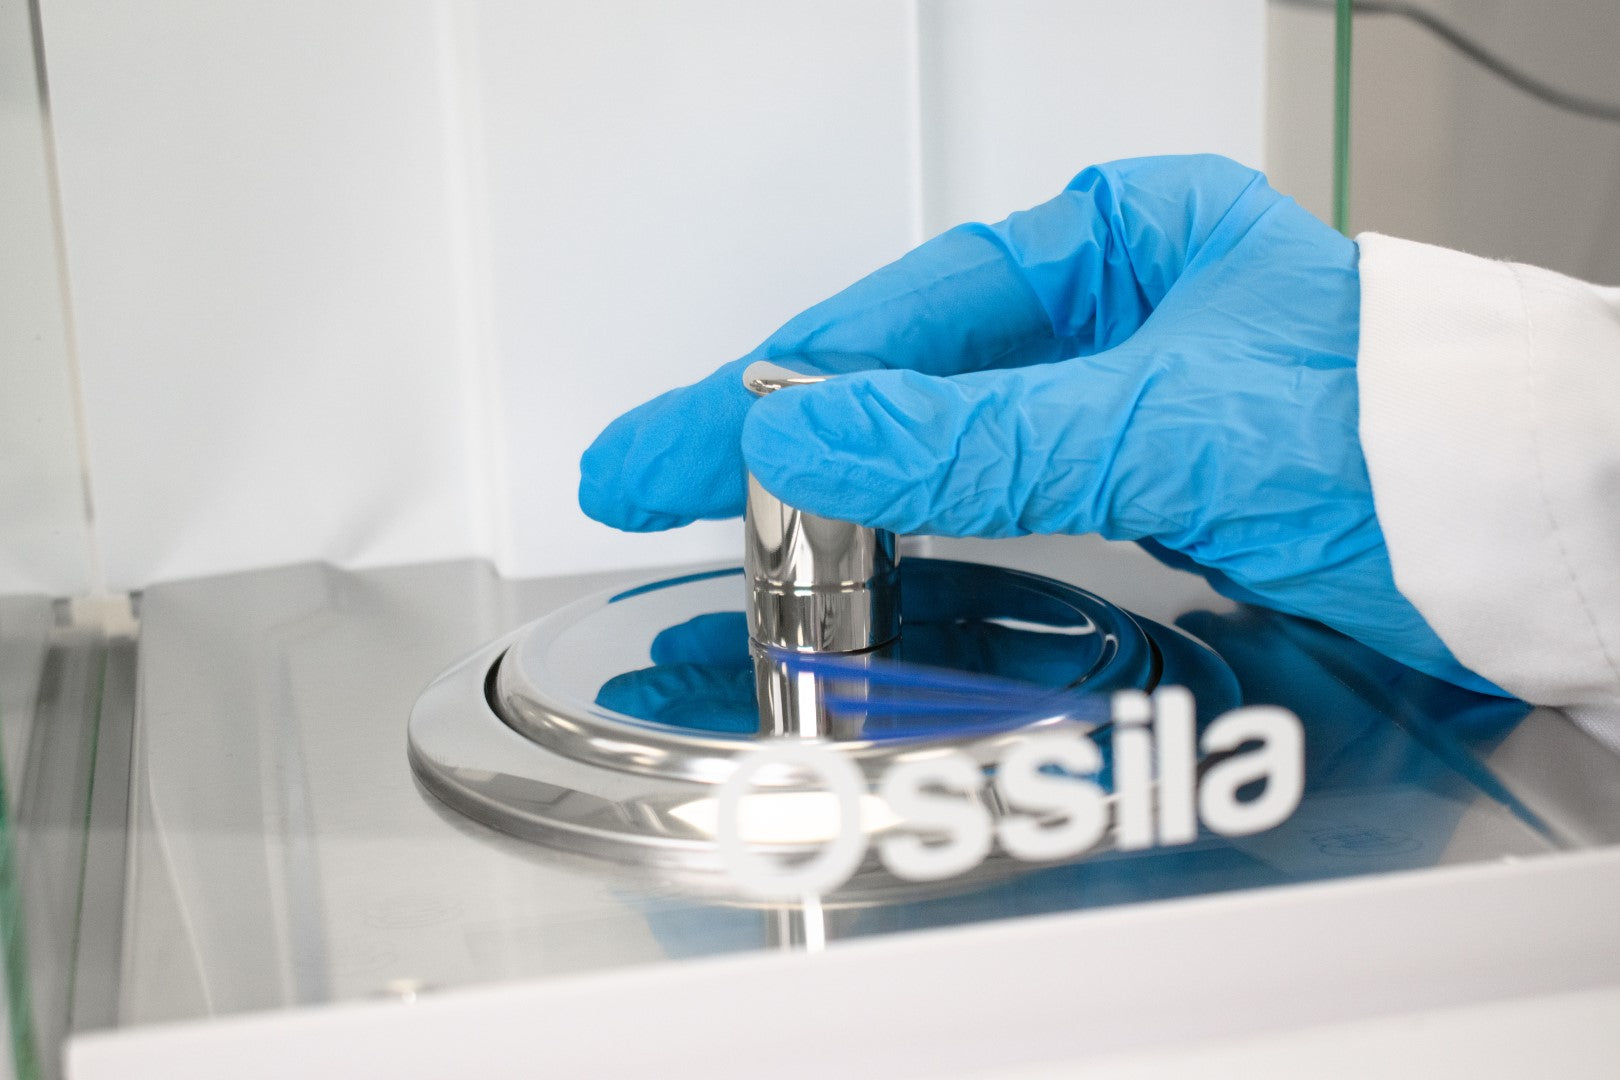
External calibration on the other hand involves the use of a certified weight measured directly on the pan to verify and adjust the balance's accuracy. This method of calibration has to be done by a user and does not have a set time or conditions which the calibration occurs. It is entirely up to the users of the balance to determine when to perform a calibration.
External calibration is essential for balances that do not have internal calibration functionality, and it can also be used to verify the accuracy of internal calibration.
Although it may be more inconvenient than the internal calibration offered by most balances, it does have its benefits.
- Full Area Calibration- The calibration can be done across several points allowing calibration across the full scale of the balance.
- Adaptable Range- You can use certified test weights to the classification you require.
- User Control- You can ensure that the calibration process follows a strict procedure to ensure zero contamination of the weight.
Please note that the Ossila Microbalance and Ossila Analytical Balance come with an in-house calibration certificate.
How to Choose Your Certified Weights

To externally calibrate a system, you should purchase certified weights to ensure their accuracy and traceability. These weights are manufactured to strict tolerances and are accompanied by a calibration certificate that details their nominal mass, actual mass, and uncertainty.
When selecting calibration weights, consider the following factors:
- Accuracy class: Choose weights with an accuracy class that meets or exceeds the precision of your balance. Common classes include E1, F1, and M1. The accuracy of the calibration weights should be the same of higher than the accuracy/linearity of your analytical balance or microbalance calibration.
- Material: Select a material that is suitable for your laboratory environment and resistant to corrosion. Generally, we recommend stainless steel weights with a high level of corrosion resistance.
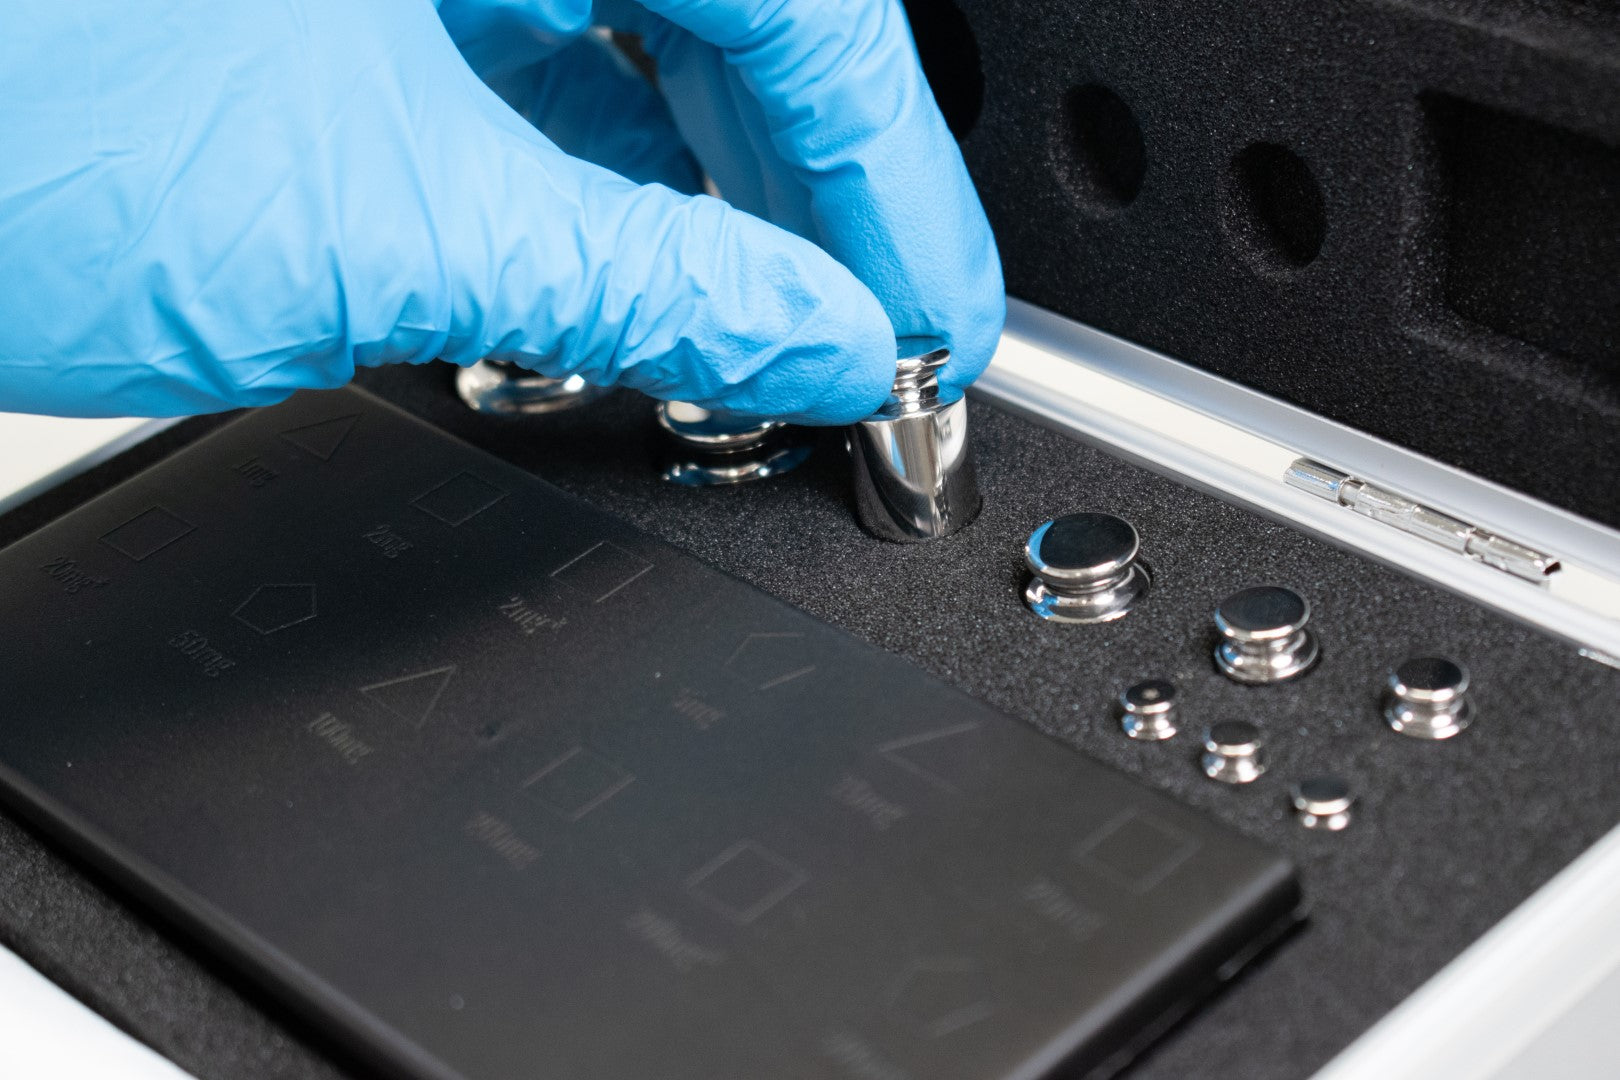
- Handling: Contamination of the weights can cause them to no longer be within the specified classification. Always handle calibration weights with gloves or tweezers to avoid this, so their accuracy can be maintained.
- Storage: Keep calibration weights in a protective case when not in use to prevent damage and maintain their cleanliness.
| Classification | Acceptable Deviation 1 mg | Acceptable Deviation 10 mg | Acceptable Deviation 100 mg | Acceptable Deviation 1 g | Acceptable Deviation 10 g | Acceptable Deviation 100 g |
| E1 | ±0.003 mg | ±0.003 mg | ±0.005 mg | ±0.01 mg | ±0.02 mg | ±0.05 mg |
| E2 | ±0.006 mg | ±0.008 mg | ±0.016 mg | ±0.03 mg | ±0.06 mg | ±0.16 mg |
| F1 | ±0.020 mg | ±0.025 mg | ±0.050 mg | ±0.10 mg | ±0.20 mg | ±0.50 mg |
| F2 | ±0.060 mg | ±0.080 mg | ±0.160 mg | ±0.300 mg | ±0.60 mg | ±1.60 mg |
| M1 | ±0.200 mg | ±0.250 mg | ±0.500 mg | ±1.00 mg | ±2.00 mg | ±5.00 mg |
| M2 | ±1.600 mg | ±3.00 mg | ±6.00 mg | ±16.00 mg | ||
| M3 | ±10.00 mg | ±20.00 mg | ±50.00 mg |
Calibration Frequency: How Often Should You Calibrate?
How frequently you will need to perform external calibration depends on several factors, including the balance's usage, environment, and accuracy requirements. As a general guideline, use the following table.
| Microbalance Application | Calibration Frequency |
| For Critical Applications | Daily or before every use |
| Routine Laboratory Work | Weekly |
You should also schedule annual or semi-annual calibration by a professional service provider to ensure traceability and compliance with quality standards.
Establish a calibration schedule that meets your specific needs and regulatory requirements and document all calibration activities for future reference.Establish a calibration schedule that meets your specific needs and regulatory requirements and document all calibration activities for future reference.
Microbalance

Learn More
 How to use an Analytical Balance and Microbalance
The instructions in the video and below describe how to correctly use a laboratory balance. Following this method will prolong the working life of your laboratory balance and keep it weighing as accurately as possible.
Read more... Maintenance Tips for Analytical Balances and Microbalances
Laboratory balances are precision instruments. To maintain the high levels of accuracy these scales provide a regular maintenance routine is required. Proper care not only helps to maintain the quality of your results but also extends the lifespan of your equipment.
Read more...We used pre-trained AI to help us write this page. As part of our editorial process, our in-house experts review, fact-check, and edit all AI-generated content to make sure we provide you with accurate and helpful information.