Leaks in a Glove Box
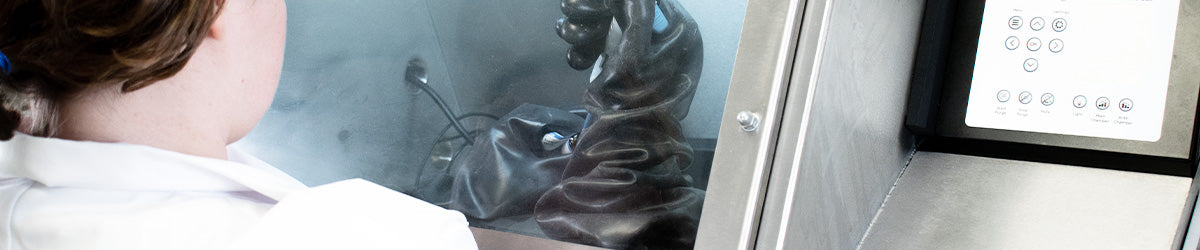
A glove box creates an isolated working environment with low levels of oxygen and moisture. Most glove boxes will automatically purge inert gas through the system as contamination levels increase. To reduce the amount of gas needed and keep running costs low, it is important to limit this atmospheric contamination as much as possible.
There are three main sources of atmospheric contamination:
- Moisture and oxygen passing through the glove box walls, also known as ingress.
- Outgassing of moisture and oxygen from the contents of the glove box.
- Physical leaks in the system caused by either damage or user error.
Leaks are the most common source of contamination. When a leak occurs, it is important to find and fix it as soon as possible. If a glove box is damaged, this is most likely to occur as a puncture in the gloves or as worn seals around the antechamber doors.
Inert atmosphere glove boxes run at an overpressure, so if the leak is small, the glove box may still be able to maintain the integrity of the internal atmosphere. If the leak rate is below the fill rate, it could do this indefinitely, assuming that the leak does not get worse. However, a much larger amount of gas is used as the overpressure pushes gas outside, through the leak.
Human Error
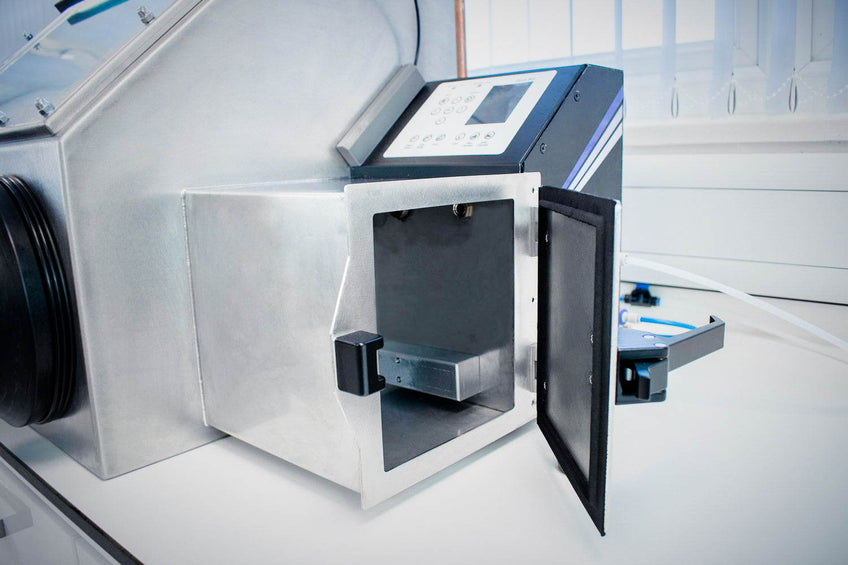
Moving samples through the glove box antechamber creates the biggest risk of accidentally exposing the main chamber to the outside atmosphere. Human error is the most common source. Failing to follow operating procedures or accidental damage can result in leaks. These materials are the most malleable and experience the most ingression.
One of the most frequent causes of accidental leaks is simply failing to correctly purge the antechamber during everyday use. This results in a large volume of atmospheric air mixing with the internal inert air, disrupting the low levels of oxygen and moisture.
To prevent this, only open the internal door when the antechamber is filled with inert gas. Always follow a standard process when opening the internal door, and if you are not certain, purge the antechamber again.
Checklist for opening the antechamber doors
When moving samples into the glove box:
- Check that the internal door is closed and ensure the antechamber is not currently purging.
- Place samples into the antechamber, then close the external door.
- Purge the antechamber using the transfer purge process.
- Wait for the purge cycle to complete.
- Move the samples into the main chamber, then close the internal door.
When taking samples out of the glove box:
- Check that the external door is closed.
- Purge the antechamber using the transfer purge process.
- Wait for the purge cycle to complete.
- Place samples into the antechamber, then close the internal door.
- Remove the samples from the antechamber, then close the external door.
Failed Gaskets, Seals, and Gloves
Gaskets and seals can also be a source of leaks, particularly those that are frequently used. Repeatedly opening and closing the glove box doors can result in debris blocking a sealing surface. Even something small like a human hair can become a point of failure.
In addition, repeated expansion and contraction of any rubber or polymer seals eventually results in less elasticity and a poorer sealing performance. For this reason, check all frequently used seals regularly to ensure that no visible damage has occurred. We also recommend periodically replacing the antechamber door O-rings to guarantee a high-quality seal.
During use, you are most likely to damage the gloves. Butyl rubber is flexible, which is important for working in a glove box, but it is susceptible to puncture holes. Take extra are when using sharp objects, remove any jewellery before working in the chamber, and inspect gloves for punctures regularly.
Glove Box
More Resources
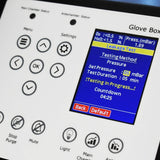 Glove Box Leak Test
If you suspect a leak, you can perform a leak test using the Ossila Glove Box preprogrammed leak test.
Read more... Why Buy The Ossila Glove Box?
If you are looking for a robust, affordable, and easy-to-use glove box, the Ossila Laboratory Glove Box is the perfect choice for you.
Read more...