Video Guide: How to Assemble the Vertical Laminar Flow Hood
To assemble your laminar flow hood in the vertical configuration:
- Begin by attaching the baffle to the plenum. Align the plenum using the threaded studs and secure it in place using the nuts provided.
- Next, align the tray with the acrylic side panels using the slots and holes as shown in the manual. Ensure the side panels are in the correct orientation: the three smaller slots should align with the filter panel at the top of the flow hood, and the side panel should extend further towards the back of the laminar flow hood to accommodate the back panel.
- Fix the tray to the side panels using M4 screws, M4 nuts, and locking washers.
- Loosely fix the nuts, bolts, and washers on the lower side of the plenum and ensure they are pushed outward.
- Align the back panel with the side panels using the provided slots and holes and secure it as instructed earlier.
- Fix the tray to the back panel to secure the hood structure.
- Position the plenum on the assembled hood, aligning the protruding screws with the slots. Fix the plenum to the side panels using the M4 screws, M4 nuts, and washers provided.
- Slot in the HEPA filter, ensuring that the arrow on the filter is facing in the direction of the air flow.
- Make sure that the HEPA filter covers the entire plenum area, then secure it in place using the filter clamp screws.
- Screw the filter access panel into place.
- Utilize the provided Ethernet cable to connect the baffle to the display screen. The cable can be fed through one of the feedthrough holes in the back of the flow hood.
- Finally, plug in the power cable and switch the laminar flow hood on.
- Your laminar flow hood is now ready for use.
Please follow these instructions carefully to assemble and operate your laminar flow hood.
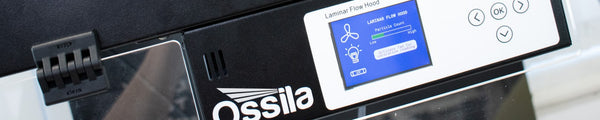
Laminar Flow Hood
Learn More
 How to Assemble the Vertical Laminar Flow Hood
Our laminar flow hoods arrive flat-packed. This gives you the flexibility to set up your unit in either a vertical or a horizontal configuration, and switch between configurations if needed. Setting up your vertical laminar flow hood involves six key steps.
Read more... Getting Started with the Laminar Flow Hood
Ossila laminar flow hoods are designed for effortless setup, user-friendly operation, and efficient control. This short video guide shows you how to get started with your new equipment.
Read more...