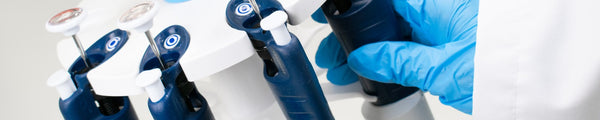
Positioning and Withdrawing a Micropipette

A micropipette is an essential laboratory tool that allows you to measure and dispense accurate volumes of liquid. Although micropipettes are a relatively simple tool, you must use the correct technique to ensure that the volumes you measure are accurate.
Use the following guide to help you correctly position and withdraw liquid with your micropipette.

Withdrawing Solution Instructions
- Before withdrawing solution from a sample, you must start in the rest position.
- Next, depress the plunger to the first stop.
- Insert the tip into the solution and slowly release the plunger until it is at the rest position.
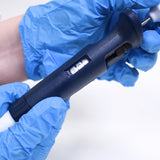
When you depress the plunger of a micropipette, you will notice that there are two stop positions. These are points in which you should feel some resistance. It is important to familiarize yourself with these positions before starting, as they serve different purposes.
- The first point of resistance, or first stop, is the volume measurement. Depressing the plunger to this point will allow you to withdraw the precise volume that the micropipette is set to. The distance to the first stop will change depending on the volume that the micropipette is set to withdraw.
- After reaching the first stop, you can further depress the plunger to a second resistance point: the second stop. The second stop should only be used when dispensing liquid and it allows you to fully dispense all liquid from a pipette tip.
If the plunger is submerged when pressed to the second stop, the measurement will be inaccurate.
Micropipette Positioning
Incorrect positioning can reduce the accuracy of the volume withdrawn.
You should ensure that your micropipette tip is sufficiently submerged in the solution you are withdrawing from. Positioning your micropipette tip too close to the surface risks the withdrawal of air.
Equally, it is important not to submerge your micropipette tip too far into your solution. Only the tip of the micropipette should come into contact with your solution, not the micropipette itself. This prevents contamination of your solution.
Make sure to hold the micropipette vertically in the solution. Holding the micropipette at an angle allows more solution to enter the micropipette tip, hence reducing the accuracy.
Micropipette
Learn More
 Getting Started with a Micropipette
Using your micropipette correctly ensures the most accurate and reproducible measuring and dispensing of solutions.
Read more... Dispensing Liquid from Micropipette
Micropipettes allow liquids to be measured and dispensed both precisely and quickly. Therefore, micropipettes are used in a wide range of applications from microbiology to analytical chemistry.
Read more...