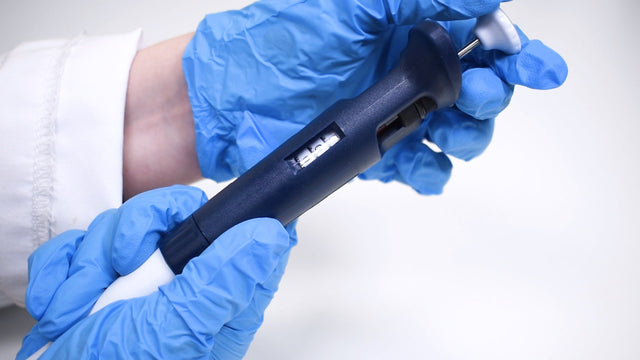
Getting Started with a Micropipette

Using your micropipette correctly ensures the most accurate and reproducible measuring and dispensing of solutions. While using your micropipette incorrectly can significantly decrease the accuracy and reproducibility.


Explore full micropipette range
How to Use a Micropipette
- Insert the pipette tip into the tip cone making sure it is securely in place.
- Holding the pipette vertically, push down the control button until the first stop.
- Immerse the pipette tip into your solution. The immersed depth should be between 2-5 mm, based upon the volume of the tip.
- Slowly release the control button until it is at its resting position.
- Wait 2-3 seconds, then withdraw the tip from the solution.
- Place the tip inside the vial you wish to dispense into, press the control button to the first stop, and then finally fully press down the button to dispense the remaining solution.
- Withdraw the pipette from the vial and release the control button.
- After finishing with your pipette firmly press the ejector button to remove the tip.

Volume Adjustment
To adjust the volume of the micropipette, rotate the volume adjustment knob. To increase the volume, turn the knob anti-clockwise to. To decrease the volume, turn the knob clockwise.
Calibration
Each micropipette is pre-calibrated and includes a manufacturer’s inspection certificate to verify the accuracy and repeatbility values. Over time, the micropipette may drift from these values due to excessive use or mishandling of the micropipette.
To recalibrate the micropipette:
- Insert the calibration key into the holes at the top of the volume adjustment knob.
- Holding the volume adjustment knob firmly with one hand, rotate the calibration key anticlockwise to increase the actual dispense volume and clockwise to reduce the dispense volume.
The actual volume of material should be tested using a gravimetric method with a low volatility solvent that has a known density. Take 6 repeat measurements at each volume listed in the inspection certificate. The dispense volume tolerances and repeatability should be within the limits verified by the manufacturer.
Micropipette
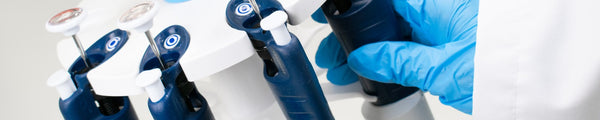
Resources and Support
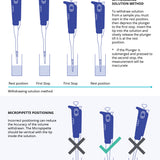 Positioning and Withdrawing a Micropipette
Follow our guide to correctly position and withdraw liquid with your micropipette.
Read more...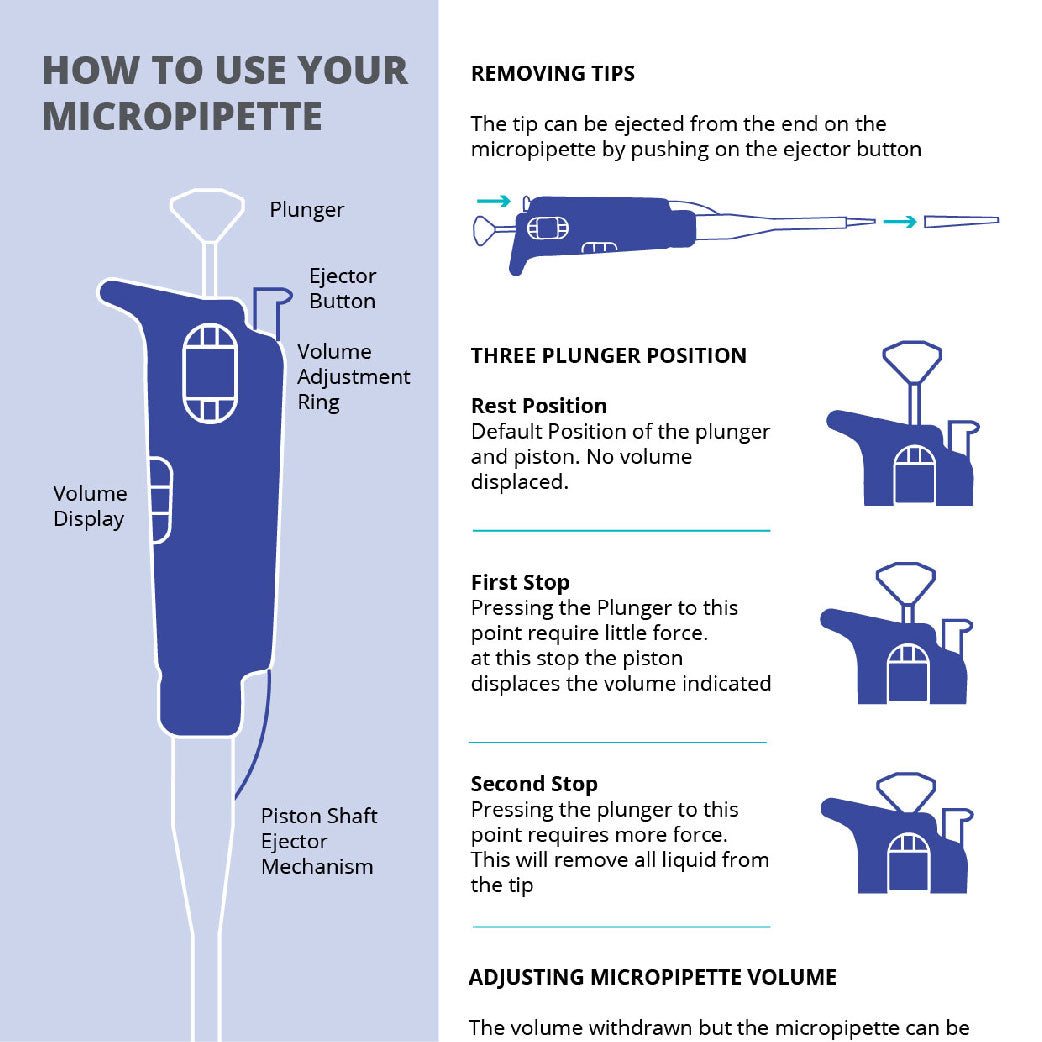 Components and Parts of a Micropipette
Micropipettes are indispensable tools in laboratories. These can be used in many applications ranging from thin film deposition by spin coating to cutting-edge molecular biology experiments like PCR (Polymerase Chain Reaction).
Read more...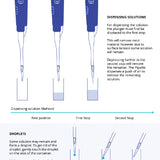 Dispensing Liquid from Micropipette
Micropipettes allow liquids to be measured and dispensed both precisely and quickly. Therefore, micropipettes are used in a wide range of applications from microbiology to analytical chemistry.
Read more...