Standard Operating Procedure of a Glove Box

Working safely within an inert glove box requires care and co-operation from everyone who uses it. For this reason, we recommend outlining a standard operating procedure for your laboratory. Everyone with access to the glove box should agree to follow this procedure.
A good operating procedure outlines the process to follow when bringing materials into the glove box and how to work within the glove box. It is also important to know how and when to purge the glove box.
Glove Box Golden Rules
- Monitor the oxygen and humidity levels within the main chamber. Logging the O2 and H2O levels will help you identify if there are any problems and could save your experiment.
- Always check the antechamber environment before opening to the main chamber. Ensuring the O2 and H2O levels within the antechamber are correct will help you avoid exposing the inert environment to the atmosphere outside the glove box.
- Optimize your workspace to avoid accidents. Benchtop glove boxes have limited space, so it is important to keep the glove box floor as clean as possible. Remove waste after each use and perform a quick purge if you have been working with solvents.
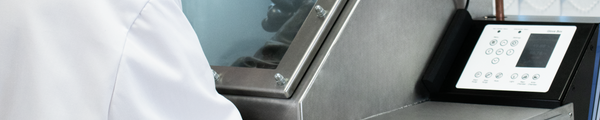
Glove Box
Bringing Items into the Glove Box
It is important to follow the correct procedures when bringing items into the glove box. These procedures reduce the risk of the inert environment being compromised and protect the validity of your experiements.
Preparing Materials
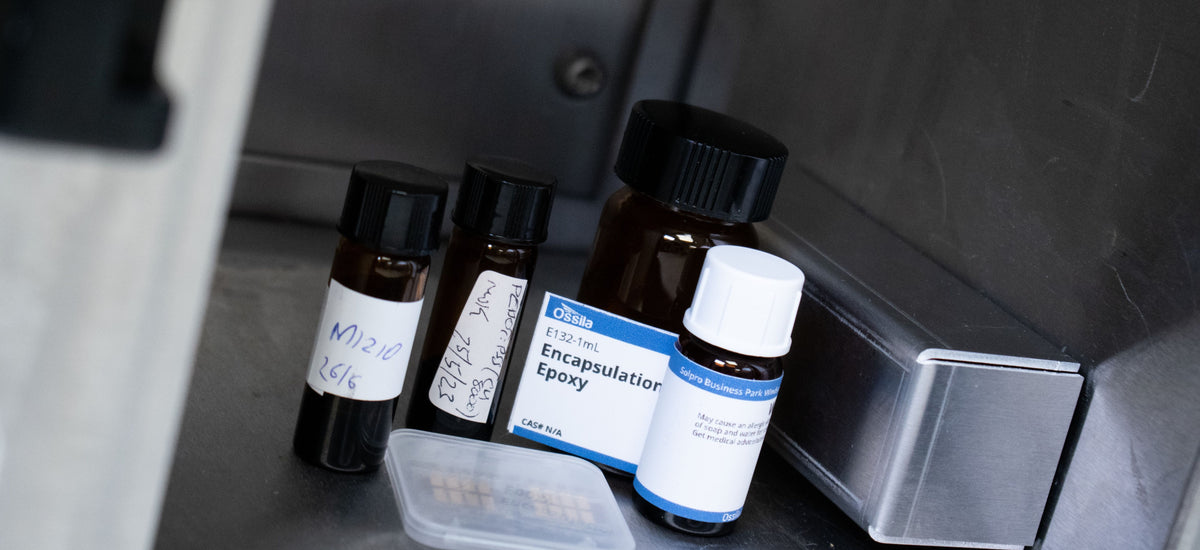
You should limit exposure of your glove box to aqueous solutions or materials which may contain moisture. Specific measures you should take before bringing these materials into your glove box include:
- Degas porous or hygroscopic materials (cleanroom tissue, paper, cloth, etc) under vacuum for several hours before bringing them in to the main glove box chamber. Normal antechamber purging may not be enough to thoroughly remove moisture.
- Degas hygroscopic or absorbent powders that have been exposed to air before bringing them into the glove box. We recommend that you do this for a significant period of time (ideally overnight) in a vacuum oven, or under vacuum/drying conditions.
- For all other small vials of materials and solutions that have been exposed to air, you can cycle as normal.
- If a solvent or material was sealed under inert conditions and has not been opened in air since, you can bring it into the glove box via the antechamber purging procedure.
Preparing the Glove Box
It is vital to always make sure the O2 and H2O levels within the antechamber are sufficiently low before bringing anything into the glove box. All glassware and equipment should be dry before it enters the glove box to preserve the low humidity levels.
It is a good idea to always cycle the antechamber before opening the door into the main glove box, even if the O2 and H2O readings are low. This creates a good habit, which can help you avoid accidentally exposing the glove box to ambient air in the future.
Choosing the Right Steps
Use this flow chart to help you decide on the appropriate process to follow before taking things into the glove box.

Working Within the Glove Box
We have outlined generally good practices for working in any glove box environment. These standard operating procedures compliment glove box cleaning and maintenance procedures, which you should perform on a regular basis as part of your maintenance routine.
Entering the Glove Box
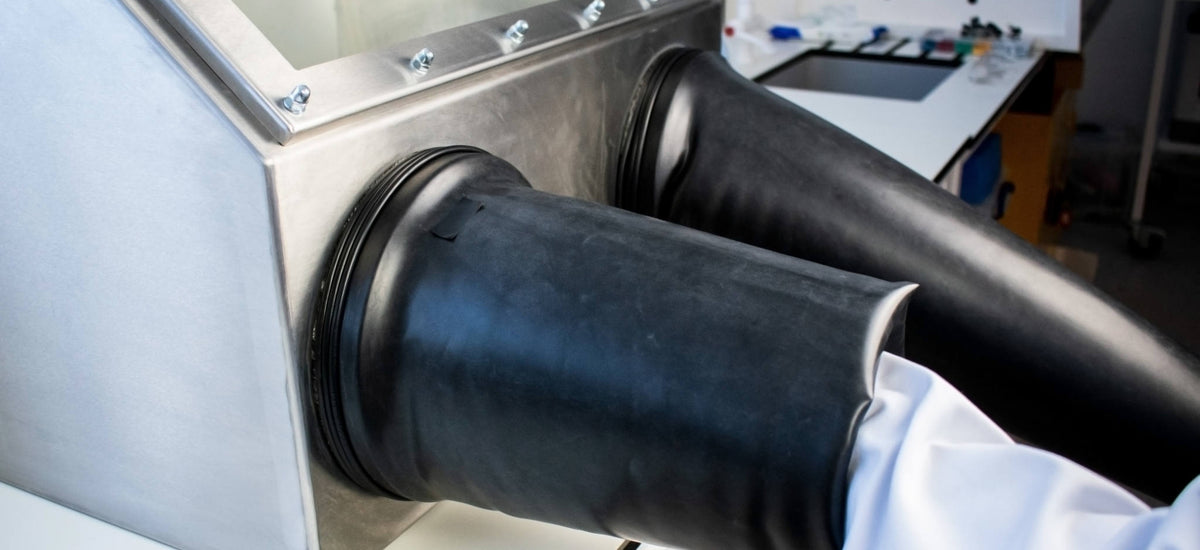
Remove all jewellery and watches before entering the glove box as these may tear the gloves. Push hands into the glove box slowly and be careful to avoid puncturing the gloves. Quickly forcing your hands into the glove box will change the chamber pressure rapidly. This can cause bottles or samples to fall over and puts extra strain on the glove box gloves.
Wear appropriate PPE while working in the glove box. If you are working with harmful substances, you may risk exposure if there is a tear in the gloves. Additionally, constant contact with skin may reduce the lifetime of the gloves. For these reasons, we suggest that you wear a lab coat and nitrile gloves whenever using a glove box.
Maintaining the Glove Box Environment
We recommend maintaining the laboratory glove box at 1-2 mBar over ambient pressure whenever you are using it. Constantly monitor O2 and moisture content levels during usage. Any major fluctuations in these levels or compromises in the inert environment should be logged and counteracted as soon as possible. If you suspect a leak at any place in the glove box, check! Use leak spray (or soapy water) to detect the presence of leaks.
If you are using organic solvents, you must regularly purge the glove box. Solvent vapors will quickly build up in a glove box if solutions are left open. Prolonged exposure to these vapors could damage the sensor board, the O-ring seals, and the gloves. Additionally, harmful solvent vapors from the main chamber could be released into the room when you take things out through the antechamber. Wherever possible, limit chamber exposure to organic solvents (e.g. close solution bottles whenever possible), and regularly purge the glove box if solutions are open for a significant period.
Reduced oxygen concentration within a confined space can lead to severe health effects. Check with the appropriate body for guidelines on working with asphyxiating gases. Oxygen depletion alarms can be installed in rooms where there is a pressurized nitrogen source to alert users if the oxygen concentration in the room begins to drop.
Purging the Glove Box
All glove boxes should have systems in place to maintain a constant inert environment. The Ossila Glove Box has an automated purging system which is triggered if the O2 and H2O levels increase above their set values.
If the oxygen or moisture levels increase significantly within the glove box main chamber, then the automated purging system will begin. First, nitrogen is pushed into the system for a few seconds until an overpressure is reached. Then, some of the internal gas from the main chamber is extracted through the outlet for a few seconds. This process repeats until enough nitrogen has been cycled through the chamber, and the oxygen and moisture levels are sufficiently low.


There are times where additional intervention is needed. For example, when working with organic solvents, vapors can quickly build up within the main chamber. This can damage the filters, gloves, or sensors in the glove box, and can affect your experiment. In these situations, we recommend you perform a nitrogen "Quick Purge".
How to Purge the Ossila Glove Box
To do a quick purge, select the circulation ("Circ") icon on the main glove box page. You will get an option to set a time and number of cycles. Once these are set, simply highlight the "Circ" and press "Start Purge".
When quick purging, the system will drive nitrogen into the chamber for a few seconds, then extract internal gas out of the chamber. This is the same process that is used in the automated purge. There will then be a short 30 second rest period with no extraction or purging. This allows the system to acclimate as the O2 and H2O levels to adjust. This process repeats for the time set (e.g. for 300 seconds), and then will repeat for the number of durations chosen.
Glove Box
Learn More
 Glove Box Maintenance And Troubleshooting
The Ossila Glove Box uses automatic purging and programmable leak tests making it easy to maintain an inert environment. However, there are a number of steps that you as the glove box user can take to ensure that the inert atmosphere remains intact.
Read more...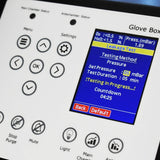 Glove Box Leak Tests
If you suspect a leak, the first thing you should do is perform a leak test. Leak tests raise the glove box to an extreme positive or negative pressure and then measure the rate of change of pressure over a period of time.
Read more...